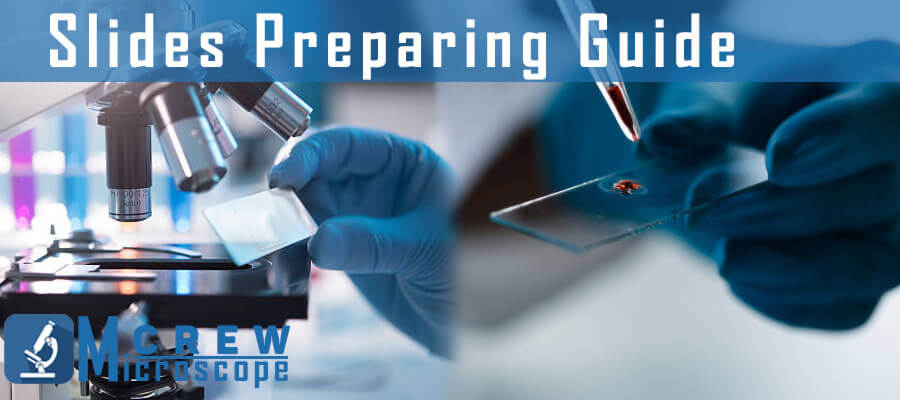
To make a microscope slide, you simply place your subject on a horizontal piece of glass or transparent plastic. But there are two parameters: Thin and transparent enough to let light pass through. There are various types of microscopes, samples, slides, and ways to prepare a microscope slide
The procedure used to prepare a slide is determined by the specimen’s nature.
The three most common methods are used to prepare microscope slides
- Dry mounts
- Wet mounts
- Smears
Dry Mount

A dry mount is an object that you want to view is placed on the slide, with a coverslip over it, and observed. You don’t need water in this method. An inanimate object, or one that does not require water to sustain life, is commonly mounted in this process.
Material: Coverslip, Specimen, and an empty glass microscope slide are necessary for dry-mounting slides. The specimen must be non-moist.
Example: Insect legs, flower petals, powders or things like sand or dry chemicals, earth samples, and even newsprint are examples of dry-mount slides.
Steps to Prepare Dry Mount Slide
You’ll need to follow these instructions when developing your dry-mount slides:
- Pick a neat and clean glass slide or clean it using this method
- Place your dry specimen in the middle of the slide
- Cover the specimen with a coverslip so it will never move
- Carefully place the slide on the center of the stage of the microscope
- Set the resolution power on which you want to observe the sample
- Observe your specimen and note down the characteristics
- When you have done, clean the slide with 70% ethanol, so that you can use the same slide for another sample
Advantages
- Easy to prepare and less time taking
Disadvantage
- This method (dry mount) gives specific information
- Living specimens die quickly because of dryness
Wet Mount

Normally wet mount slides, a type of microscope slides, are used to observe living organisms. Water is necessary for this process. Wet mount slides are frequently used in laboratories for examination and observation of samples.
Material: Clean slide, Specimen, Dropper, Water, Coverslip, and Tissue paper.
Steps to prepare Wet Mount
- Place the specimen in the center of the glass slide with the help of a tweezer
- Add a drop of water to the specimen to prevent it from drying
- Add coverslip carefully to avoid air bubbles or follow this to remove air produced air bubbles
- Remove extra water with tissue or filter paper
- Tape coverslip gently
- Place the slide in the center of the stage and observe under different resolution power
Advantages
- Specimen isn’t dry to let living object moves freely
- Detailed Observation
Disadvantages
- Takes more time
- Need to be very careful while placing the coverslip
- Sometimes the movement of the specimen creates problems in observation
Smear Slides

Smear Slides are used for sample/specimen thick and colored, and objects cannot be seen in the wet mount. Smears are necessary for many laboratory procedures, such as the Gram Stain, that require the creation of smears. Creating a smear on a slide is an important step in staining since it ensures that the bacteria will not be lost during the process. When making a smear, it is possible to use both solid and liquid ingredients.
Here are some tips on how to prepare the smear for gram stain
Material: Clean glass slide, specimen (blood or bacterial stain) dropper, tissue paper.
Steps to Prepare Smear Slides
- Take a clean glass slide
- Place drop of blood or bacterial growth at one side of the slide
- Take another slide and spread the liquid drop evenly. Don’t apply pressure
- Place the slide on the stage of the microscope and observe under different resolution power
Advantages
- Easily observe blood cells and bacterial growth.
Disadvantages
- Time-taking process
- Need technical assistance in spreading smear
Leave a Reply